
In summary:
- Your solar lights fail in winter due to an “energy budget” deficit: they use more power than they can collect in low-light conditions.
- The fix involves a system-level upgrade, not just one trick. Focus on improving energy collection (panel angle) and storage (battery quality).
- Balance the energy budget by reducing consumption (choosing appropriate brightness) and ensuring efficient delivery (using glass lenses and shielded fixtures).
- This approach transforms your lights from disposable gadgets into a reliable, all-season lighting system.
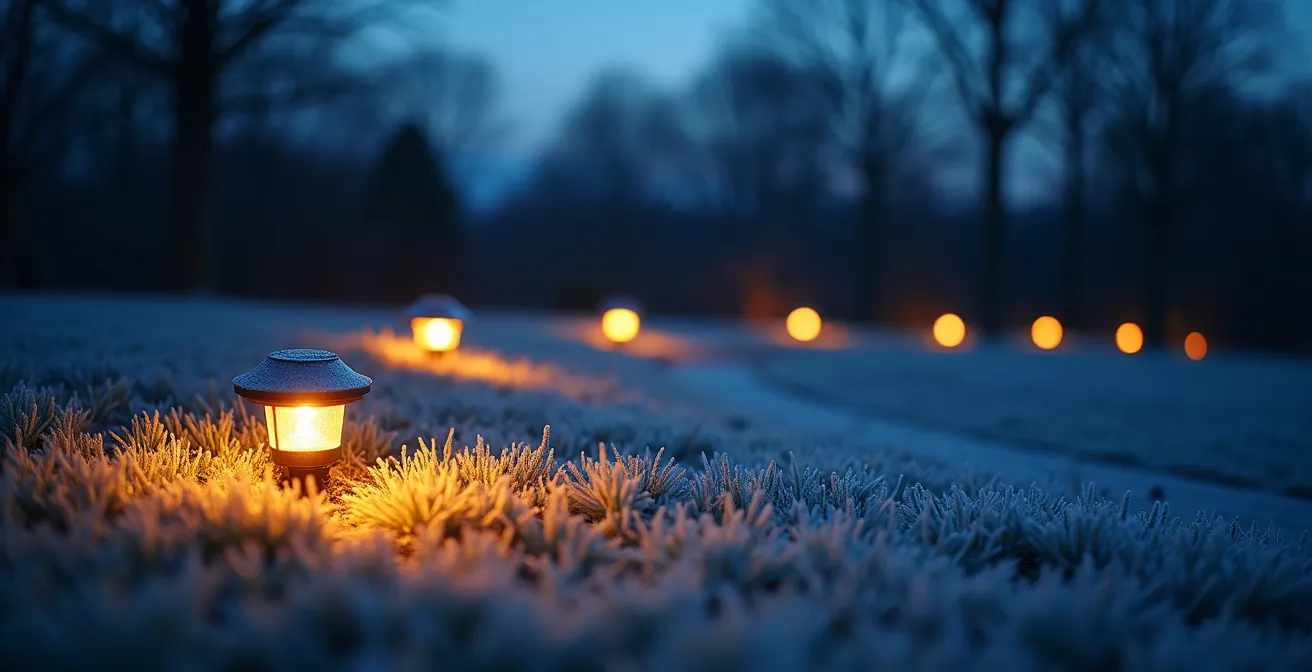
It’s a frustratingly common sight for homeowners in northern climates: the same solar pathway lights that cast a perfect glow in July are dead by December. You clean the panels, you hope for a sunny day, but the result is the same—a dark, potentially hazardous walkway. The common assumption is that the lights are simply cheap or broken. But as a renewable energy technician, I can tell you the problem isn’t the light itself; it’s a fundamental mismatch between summer-rated hardware and the physics of winter.
Your solar lights operate on a simple principle I call an energy budget. The solar panel collects energy (income), and the battery stores it (a savings account) for the LED to spend at night (expenses). In summer, with long days and high sun, the budget is flush. In winter, short days and a low sun angle create a severe energy deficit, and your light’s budget goes bankrupt before the night is over. Most advice only addresses a single symptom, like cleaning the panel.
But if the real issue is a systemic energy shortfall, then the solution must be systemic, too. The key isn’t just to fix one component, but to treat your pathway lights like a professional micro-solar system. By optimizing every part of that system—from battery chemistry and panel angle to lumen output and lens material—you can create a balanced energy budget that keeps your lights shining bright, even on the shortest days of the year. This guide will walk you through each optimization, turning your frustration into a reliable, year-round lighting solution.
Summary: Why Your Solar Pathway Lights Die in December (And How to Fix It)?
- NiMH vs. Lithium: Which Battery Replacement Revives Dead Solar Lights?
- The “Angle Hack” to Capture 30% More Sunlight for North-Facing Paths
- 3 Lumens vs. 50 Lumens: Which Brightness Actually Prevents Tripping?
- Glass vs. Plastic Lenses: Which Survives the Lawn Trimmer Better?
- How to Space Pathway Lights Without Creating the “Runway Effect”?
- How to Choose Outdoor Fixtures That Don’t Pollute the Night Sky?
- Why Are Your “Eco-Friendly” Halogens Costing You $50 More Per Year?
- How to Hang String Lights Without Drilling Holes in Your Siding?
NiMH vs. Lithium: Which Battery Replacement Revives Dead Solar Lights?
The battery is the heart of your solar light’s energy budget—it’s the storage tank. When it fails, the whole system collapses. Most solar lights come with standard Nickel-Metal Hydride (NiMH) batteries, which are adequate for summer but often falter in the cold. While you might be tempted to swap in a Lithium-ion (Li-ion) battery, thinking it’s more “modern,” this can be a mistake. Standard Li-ion batteries have charging issues in freezing temperatures, which can make your problem even worse.
The real professional solution isn’t about changing the chemistry, but about upgrading the quality. Not all NiMH batteries are created equal. You need to replace the generic stock batteries with low self-discharge (LSD) NiMH batteries specifically designed for solar applications. These are engineered to hold a charge longer in storage and perform more reliably across a wider temperature range. Furthermore, their lifespan is dramatically better; specialized solar batteries can offer up to 2,000 charging cycles compared to just 500 for standard rechargeable batteries.
This single upgrade ensures your “energy tank” is not only larger but also less prone to “leaks” during cold winter nights. It’s the most critical first step in building a resilient, all-season system. Always match the voltage and check the mAh rating—a higher mAh provides more capacity, but it also requires more sun to fully charge, so a moderate upgrade (e.g., from 600mAh to 1000mAh) is often the sweet spot for winter performance.
The “Angle Hack” to Capture 30% More Sunlight for North-Facing Paths
If the battery is the tank, the solar panel is the funnel that collects the energy. In winter, the sun is low in the sky, meaning its rays strike your flat-mounted solar panels at a very shallow angle. This drastically reduces the “solar yield,” starving your battery before it even has a chance. Simply having the light “in the sun” isn’t enough; the panel must be directly facing the sun’s low trajectory. This is where the “Angle Hack” comes in, a technique used in professional solar installations.
The goal is to tilt the panel to be perpendicular to the winter sun. While a 5-10° tilt is fine in summer, a tilt of 45-60° is optimal for winter in most northern latitudes. This simple adjustment can increase your energy collection by 30% or more, often being the difference between a light that works and one that dies. As proof, commercial-grade systems from installers like SEPCO are engineered for the worst-case scenario—the winter solstice on December 21st—and use panels fixed at a 45° angle to guarantee year-round operation.
You don’t need a commercial-grade fixture to apply this principle. You can easily create small, weather-resistant wedges to place under your light’s panel, or reposition the stake to achieve a better angle. This hack is the most powerful, no-cost way to dramatically improve your light’s winter performance.
Action Plan: The Winter Angle Adjustment
- Calculate Optimal Angle: For winter, aim for a 45° to 60° tilt. This allows the panel to directly face the low-hanging sun.
- Create DIY Wedges: Use weather-resistant materials like treated wood or durable plastic to craft small wedges that prop up your panel to the desired angle.
- Position for True South: Use a compass app to ensure your panels are facing true south (not magnetic south) for maximum exposure during the shortest days.
- Clear Low Shadows: Check your lights at 9 AM. If any shadows from bushes or fences are touching the panel, that obstacle needs to be pruned or the light relocated.
- Add a Reflector (Optional): Placing a small, reflective surface (like a piece of painted white board) behind the panel can help bounce additional low-angle sunlight onto it.
3 Lumens vs. 50 Lumens: Which Brightness Actually Prevents Tripping?
The final piece of the energy budget is consumption. The brightness of your light, measured in lumens, is its primary “expense.” A common mistake is buying the brightest light available, which is like running a massive engine on a tiny fuel tank in winter. Your light’s runtime is inversely proportional to its brightness. To make it through a long winter night, you must match the lumen output to both your safety needs and your available energy budget.
There are two main categories of pathway lighting:
- Ambient/Marker Lighting (1-5 lumens): This is a very low output, designed to mark the edge of a path or create a soft, atmospheric glow. It’s extremely energy-efficient but will not illuminate potential trip hazards like uneven stones or ice.
- Safety/Task Lighting (30-50 lumens): This level of brightness is required to actually see the ground in front of you. It clearly reveals the texture of the path, obstacles, and elevation changes, actively preventing trips and falls. However, it consumes significantly more power.
The visual difference is stark. A low-lumen light creates pools of ambiance, while a safety-rated light makes the path fully navigable.
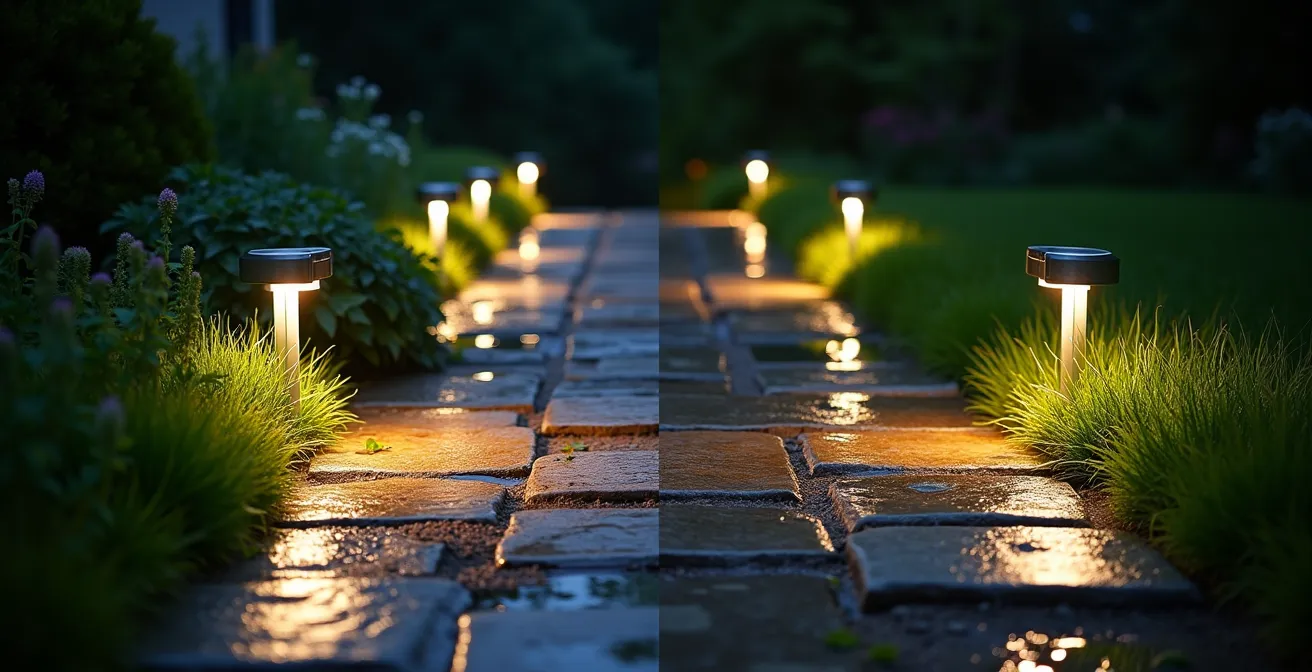
For winter reliability, the solution is to find the right balance. If your primary goal is safety on a main walkway, you need a fixture in the 30-50 lumen range and must commit to the battery and panel angle optimizations to support it. If your lights are purely decorative in a garden bed, switching to a lower-lumen model will dramatically increase its chances of lasting through the night. Some modern lights even offer a high/low switch, allowing you to choose safety in winter and higher brightness in summer.
Glass vs. Plastic Lenses: Which Survives the Lawn Trimmer Better?
Even with a perfect energy budget, performance can be crippled if the energy can’t get out efficiently. The lens covering the LED is the final gatekeeper of light, and the material it’s made from has a huge impact on long-term performance. Most budget-friendly solar lights use plastic lenses. While cheap, they are highly susceptible to two major enemies: UV radiation and physical damage.
Over time, the sun’s UV rays cause the plastic to yellow and cloud over, a process called oxidation. This haze can block a significant portion of the light your LED produces. In fact, field testing shows that after a few years, plastic lenses can degrade to just 60% light transmission. This means you’re wasting 40% of your precious, hard-earned winter energy. Furthermore, plastic is soft and easily scratched or cracked by a stray pebble from a lawnmower or a glancing blow from a string trimmer, further reducing clarity.
The superior choice for a resilient system is always glass. Glass lenses are virtually immune to UV degradation, maintaining 90-95% light transmission for their entire lifespan. They are far more scratch-resistant and provide a look of quality that plastic can’t match. While a fixture with a glass lens might have a slightly higher upfront cost, it’s a critical investment in long-term efficiency and durability. It ensures that every lumen your system works so hard to produce actually makes it onto your path, year after year.
How to Space Pathway Lights Without Creating the “Runway Effect”?
A well-designed lighting system is more than just a collection of functional parts; it’s an integrated whole. How you arrange your lights is just as important as the hardware itself. The most common amateur mistake is placing lights in a perfectly straight, evenly spaced line on both sides of a path. This creates the dreaded “runway effect”—a rigid, unnatural look that feels more like an airport landing strip than a welcoming garden.
Professional landscape designers focus on creating a natural rhythm. Instead of rigid symmetry, they use a staggered, asymmetrical layout. By placing lights on alternating sides of the path and varying the distance between them (typically 6-8 feet for residential lights), you create overlapping pools of light that feel more organic and inviting. This approach guides the eye and the feet without being overly prescriptive.
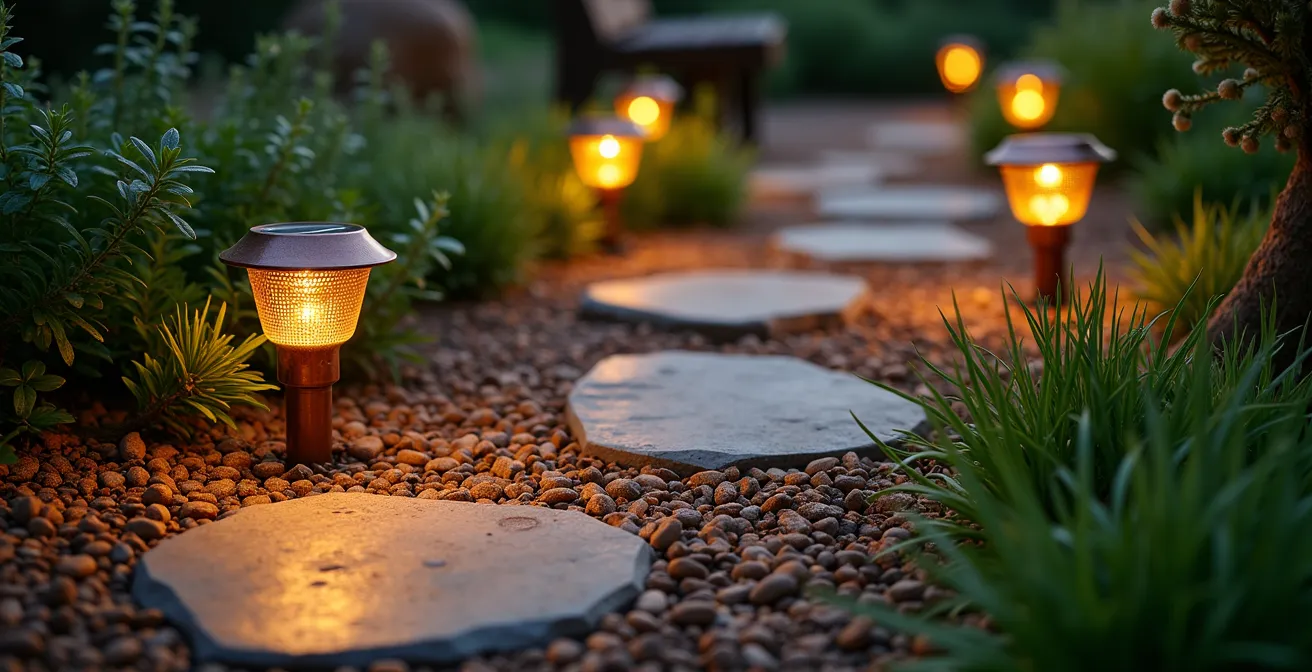
The goal is to use light strategically. Place a light to highlight the start of a curve, the edge of a step, or an interesting plant. As noted in commercial guidelines from firms like Solar Lighting International, the focus is on creating “visual rhythm” by placing fixtures at key points like intersections and curves, rather than just uniform spacing. This makes the lighting an integral part of the landscape design, enhancing both safety and beauty, and turning a simple path into a feature of your garden.
How to Choose Outdoor Fixtures That Don’t Pollute the Night Sky?
Optimizing your lighting system also means eliminating waste. A significant source of energy waste—and a growing environmental concern—is light pollution. Fixtures that cast light upwards into the night sky don’t just obscure the stars; they waste precious battery power. For a solar light operating on a tight winter energy budget, every misdirected lumen is a loss.
The solution is to choose “dark sky compliant” or “fully shielded” fixtures. These are designed with hoods or casings that prevent any light from escaping upwards or horizontally. All of the light is directed downwards onto the path where it’s needed. This principle is not just about environmentalism; it’s about maximum efficiency. As the experts at Solar Lighting International point out in their installation guides:
A fully shielded fixture wastes zero light upwards, directing every lumen onto the path. This maximizes the use of limited battery power in winter.
– Solar Lighting International, Commercial Solar Pathway Installation Guide
When shopping, look for three key features of dark sky compliance. First, a full-cutoff design that ensures no direct uplight. Second, a warm color temperature below 3000K, as the blue-rich light of “cool white” LEDs contributes more to skyglow. Finally, look for official certification from the International Dark-Sky Association (IDA). Choosing a shielded fixture ensures that 100% of the energy your system collects and stores is used effectively, improving performance while protecting the night sky.
Key takeaways
- Winter failure is primarily an energy budget problem caused by a system mismatch, not a simple product defect.
- The biggest performance gains come from optimizing energy collection with the “Angle Hack” and improving energy storage with high-quality, solar-specific NiMH batteries.
- Long-term reliability and efficiency depend on choosing durable materials like glass lenses and efficient designs like fully shielded, dark-sky-compliant fixtures.
Why Are Your “Eco-Friendly” Halogens Costing You $50 More Per Year?
Some homeowners, frustrated with failing solar lights, revert to traditional low-voltage halogen or incandescent pathway lights, thinking they are more reliable. While they do work regardless of sunlight, this “reliability” comes at a significant and ongoing financial and environmental cost. The term “eco-friendly” often applied to low-voltage lighting is misleading when you analyze the total cost of ownership (TCO).
A typical 10-light halogen setup can easily add over $50 per year to your electricity bill. In contrast, once purchased, a solar light’s energy is free. The only ongoing cost for a solar system is occasional battery replacement. A high-quality solar NiMH battery might cost $2.50, and you’d replace it every few years. As one analysis highlights, solar lights require only about a $5 battery replacement every 2 years versus a $50+ annual electricity bill for wired alternatives. Over five years, the difference is substantial.
When you factor in initial purchase price, electricity, and replacement parts, the long-term financial picture becomes clear. The upfront cost of a quality solar setup is quickly offset by the complete elimination of electricity costs. A detailed analysis shows that even with a higher initial purchase price, a solar LED system can be significantly cheaper over a five-year period.
| Cost Factor | Halogen Pathway (10 lights) | Solar LED (10 lights) |
|---|---|---|
| Initial Purchase | $150 | $250 |
| Annual Electricity | $50 | $0 |
| Bulb Replacements (5 years) | $75 | $0 |
| Battery Replacements | $0 | $30 |
| 5-Year Total | $475 | $280 |
By investing in a properly optimized solar lighting system, you are not only choosing a more environmentally friendly option but also making a smarter long-term financial decision. The key is to shift from a mindset of cheap, disposable lights to investing in a durable, self-sufficient system.
How to Hang String Lights Without Drilling Holes in Your Siding?
While pathway lights solve one problem, another common outdoor lighting challenge is installing decorative string lights without causing permanent damage to your home’s exterior. Drilling holes in siding can lead to water intrusion, void warranties, and is often forbidden by landlords or HOAs. Fortunately, applying the same “work smarter, not harder” principle, there are numerous damage-free methods for hanging solar string lights.
The key is to use existing structures and specialized, non-penetrating hardware. Instead of reaching for a drill, consider these technician-approved, damage-free solutions for mounting your lights and their separate solar panel:
- Vinyl Siding Clips: These small metal hooks are designed to slide up and under the seam of a vinyl siding panel, providing a secure hanging point without any drilling.
- Gutter Hooks: Simple S-hooks or specialized gutter clips can be hung from the edge of your gutters, providing an ideal high anchor point for draping lights along a roofline.
- Adhesive Hooks: For surfaces like finished wood, metal, or glass, use outdoor-rated adhesive hooks (like 3M Command Outdoor). Ensure the surface is clean and the hooks are rated for the weight of your lights and for temperature extremes.
- Messenger Wire System: For longer spans or heavier lights, create a “messenger wire” by running a taut steel cable between two secure, non-drilled anchor points (like a sturdy tree and a fence post). You can then clip your string lights onto this support wire.
- Panel Mounting: The solar panel for your string lights needs maximum sun. Use zip-ties to attach it to a drainpipe, deck railing, or secure it to a weighted stand that can be moved as the seasons change.
Stop the cycle of buying and discarding lights each year. By applying these system-level optimizations, you can build a reliable, cost-effective, and beautiful outdoor lighting setup that you can depend on, no matter the season. Start by auditing your current system and identify the weakest link—is it the battery, the panel angle, or the lens? Then, systematically upgrade each component to create a pathway that’s safe and welcoming all year long.