
Hanging beautiful string lights without drilling is about more than just sticky hooks; it’s about designing a resilient, temporary lighting system.
- Choose the right non-drilling method (adhesive, mechanical, tension) based on weather, surface, and season.
- Plan for “serviceability” with features like slack loops and use smart patterns to maximize aesthetic impact.
Recommendation: Always perform a pre-party safety audit to check adhesive bonds, wiring integrity, and weight distribution before your guests arrive.
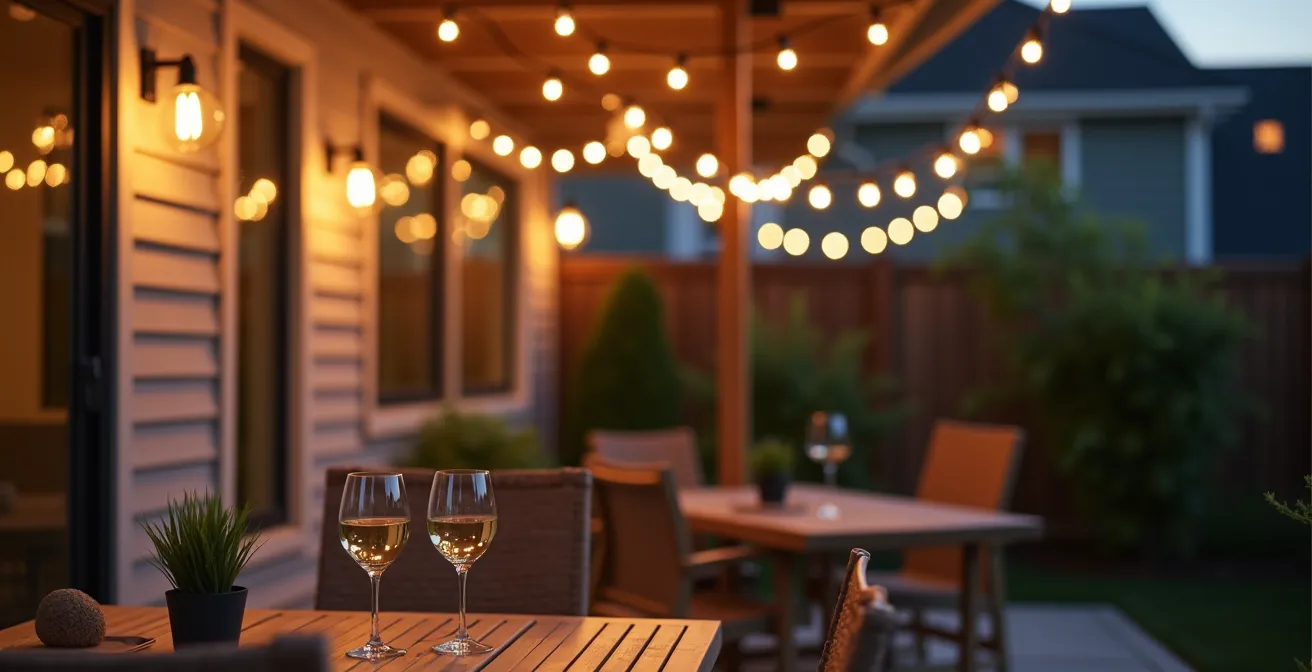
The desire for that magical, twinkling glow of outdoor string lights is universal. It’s the secret ingredient that transforms a simple patio into an enchanting bistro or a backyard into a festive wonderland. But for renters, homeowners proud of their pristine siding, or anyone hosting a one-night event, the dream often comes to a screeching halt at the thought of drilling permanent holes. The common advice is to “just use adhesive hooks,” but this often leads to lights drooping mid-party or paint peeling off a week later.
This approach misses the point. A successful, damage-free installation isn’t a task; it’s a design project. The key isn’t just finding a hook that sticks, but engineering a complete temporary lighting system that accounts for weight, weather, aesthetics, and even future repairs. It’s about thinking like a professional event planner, not just a DIYer with a roll of tape. This means moving beyond the simple “what” and understanding the “why” behind each choice—from the specific IP rating of your lights to the color temperature that creates the perfect mood.
In this guide, we’ll shift our perspective. We will deconstruct the process of hanging string lights into a series of strategic decisions. We’ll explore how to choose hardware that can survive a rainstorm, design lighting patterns that create maximum impact with minimum cable, and implement pro techniques that make maintenance a breeze. The goal is to empower you with the knowledge to create a stunning and sturdy lighting display that looks professionally installed but leaves absolutely no trace behind.
This article provides a complete blueprint for your damage-free lighting project. The following sections break down every critical element, from power and weatherproofing to aesthetics and safety.
Summary: A Party Planner’s Guide to Flawless, Damage-Free Ambiance
- Will Solar String Lights Actually Last Through a 4-Hour Dinner Party?
- IP44 vs. IP65: Which String Lights Can Survive a Heavy Rainstorm?
- 2700K vs. 5000K: Why Cool White LEDs Ruin the “Cozy” Vibe?
- One Bulb Out, All Out? How to Fix Cheap LED Strands Quickly
- Zig-Zag or Perimeter: Which String Light Pattern Covers More Area with Less Cable?
- Candles vs. Overhead: How to Light a Table so Guests Can See What They Eat?
- LED Candles Only: The Fire Risk of Paper Luminaries Indoors
- Why Your Solar Pathway Lights Die in December (And How to Fix It)?
Will Solar String Lights Actually Last Through a 4-Hour Dinner Party?
The biggest appeal of solar string lights is freedom—freedom from outlets, extension cords, and drilling holes to access power. But for a party host, this freedom comes with a nagging anxiety: will they die out before the dessert is served? The answer, thankfully, is a resounding yes, provided you choose the right product and plan your installation. Modern solar technology has advanced significantly, moving well beyond the dim, short-lived lights of the past.
The key lies in the battery capacity and the efficiency of the solar panel. High-quality systems are designed to absorb enough energy during the day to power your evening festivities for hours. In fact, recent 2025 testing shows modern solar lights can last up to 30 hours on a full 8-hour charge. This provides more than enough of a buffer for an evening event, even if the day was slightly overcast. The performance hinges on placing the solar panel in a location that receives at least 6-8 hours of direct sunlight.
However, the solar panel itself has weight. Simply sticking it to a wall with a single adhesive hook is a recipe for failure. To ensure a secure, damage-free mount for the panel, a dual-anchor technique is essential for proper weight distribution. This involves using multiple points of contact to spread the load and prevent a single point of failure, turning a simple hanging task into a robust lighting system.
By investing in a quality set and strategically placing the panel, you can confidently rely on solar power to provide a warm, consistent glow throughout your entire event.
IP44 vs. IP65: Which String Lights Can Survive a Heavy Rainstorm?
Nothing kills the mood of an outdoor party faster than a sudden downpour that shorts out your beautiful lighting. When choosing string lights for any unsheltered area, the IP (Ingress Protection) rating is not just a technical spec—it’s your primary insurance policy against weather. This two-digit code tells you exactly how resistant the lights are to solids (first digit) and liquids (second digit). For outdoor use, the second digit is what matters most.
An IP44 rating means the product is protected against splashing water from any direction. This is adequate for a covered porch or a location shielded from direct rain. However, for a truly exposed installation, you need to step up to IP65. This rating guarantees protection against low-pressure water jets from any direction, meaning the lights can easily withstand a heavy rainstorm. Forgetting this detail can lead to a failed system. A great way to enhance water resistance is to create a “drip loop”—a small, intentional dip in the cable right before it reaches an adhesive hook. This simple trick uses gravity to guide water away from the adhesive pad, preventing it from weakening the bond.
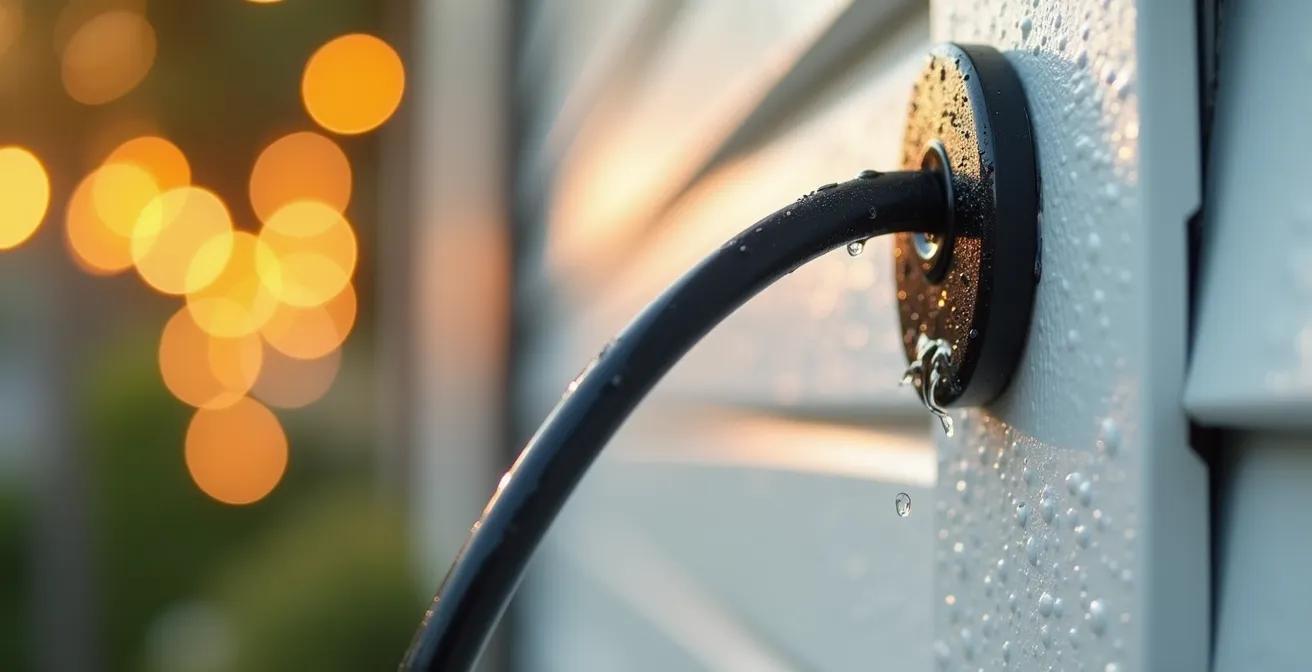
As this image shows, the drip loop is a simple yet effective detail. But the lights are only as weatherproof as their mounting. GLUROO’s field testing revealed that for windy conditions, adhesive hooks can be a weak link. Their 2025 outdoor guide documented that a setup using adjustable tension rods between posts (with no drilling) survived 40mph winds by leaving intentional slack in the light strand and using zip ties as flexible shock absorbers. This transforms the setup into a dynamic system that can handle environmental stress.
Your choice of mounting hardware must align with your lights’ weather resistance. A fully waterproof IP65 light strand is useless if it’s attached with an indoor-rated adhesive that fails in humidity.
This comparative table, based on a drill-free installation guide, illustrates how to match your hooks to your environment for a resilient system.
| IP Rating | Weather Protection | Recommended Hook Type | Adhesive Bond Time |
|---|---|---|---|
| IP44 | Splash resistant | Standard outdoor adhesive | 1 hour minimum |
| IP65 | Heavy rain/jets | Marine-grade adhesive or UV-resistant plastic | 24-48 hours for Sugru |
| IP67 | Temporary immersion | Mechanical clips (no adhesive) | Immediate installation |
Ultimately, creating a weather-proof lighting system means thinking about every component, from the light’s seal to the hook’s adhesive, as part of an interconnected chain.
2700K vs. 5000K: Why Cool White LEDs Ruin the “Cozy” Vibe?
Lighting is not just about illumination; it’s about emotion. The color temperature of your string lights, measured in Kelvin (K), is the single most important factor in “atmospheric engineering.” It dictates whether your space feels like a warm, inviting hideaway or a stark, clinical operating room. Many people unknowingly sabotage their desired “cozy” vibe by choosing bulbs with a high Kelvin rating.
The magic number for a warm, intimate, candle-like glow is 2700K. This is considered “warm white” and it emits a soft, yellowish hue that is flattering to skin tones and creates a relaxing atmosphere. As you move up the scale, the light becomes more neutral and then blue. A 5000K bulb, often marketed as “daylight white,” emits a harsh, blue-toned light that can feel sterile and unwelcoming in a social setting. It’s excellent for task lighting in a workshop, but it’s a mood-killer for a dinner party.
The impact of getting this right is significant. Creating a pleasant ambiance encourages guests to linger and enjoy the space. In fact, a 2024 study found that proper garden lighting increases outdoor space usage, with 78% of homeowners using patios 40% more often. This demonstrates that the quality of light directly influences how a space is perceived and used. Beyond the bulb itself, you can manipulate light and shadow to enhance the effect and cleverly hide your non-destructive hardware.
- Position lights 6-8 inches away from the wall to cast soft shadows that conceal the hooks.
- Angle bulbs slightly downward to direct light onto your gathering area, not onto the mounting hardware.
- Use frosted or Edison-style bulbs, which diffuse light and reduce the harsh glare that can highlight clips and wires.
- Choose clear or white hooks that blend in with light-colored siding, especially under the forgiving glow of 2700K light.
By prioritizing a warm color temperature and thinking about how light and shadow interact, you can elevate your setup from simple illumination to true atmospheric design, all without a single drill hole.
One Bulb Out, All Out? How to Fix Cheap LED Strands Quickly
We’ve all experienced the frustration: one faulty bulb takes down an entire section of lights, turning a perfect ambiance into a patchy mess. With older, series-wired incandescent lights, this was a common headache. While most modern LED string lights are wired in parallel (meaning one dead bulb won’t kill the whole strand), cheaper sets can still have quality control issues. For a party planner, the real challenge isn’t just that a bulb might fail, but how to fix it quickly and easily without dismantling the entire installation.
The solution is to design for serviceability from the very beginning. This means building in ways to access and repair sections of your lighting without having to start from scratch. A fantastic technique is creating “service loops.” Mad Backyard’s 2024 testing found this dramatically simplified repairs. Their method involves creating 12-inch loops of slack cable every 10 feet, secured with a simple twist tie. If a bulb needs replacing, you can just release the loop, giving you enough slack to work without unhooking the entire strand. This approach reduced their documented repair time from 45 minutes to under 5 minutes per bulb.
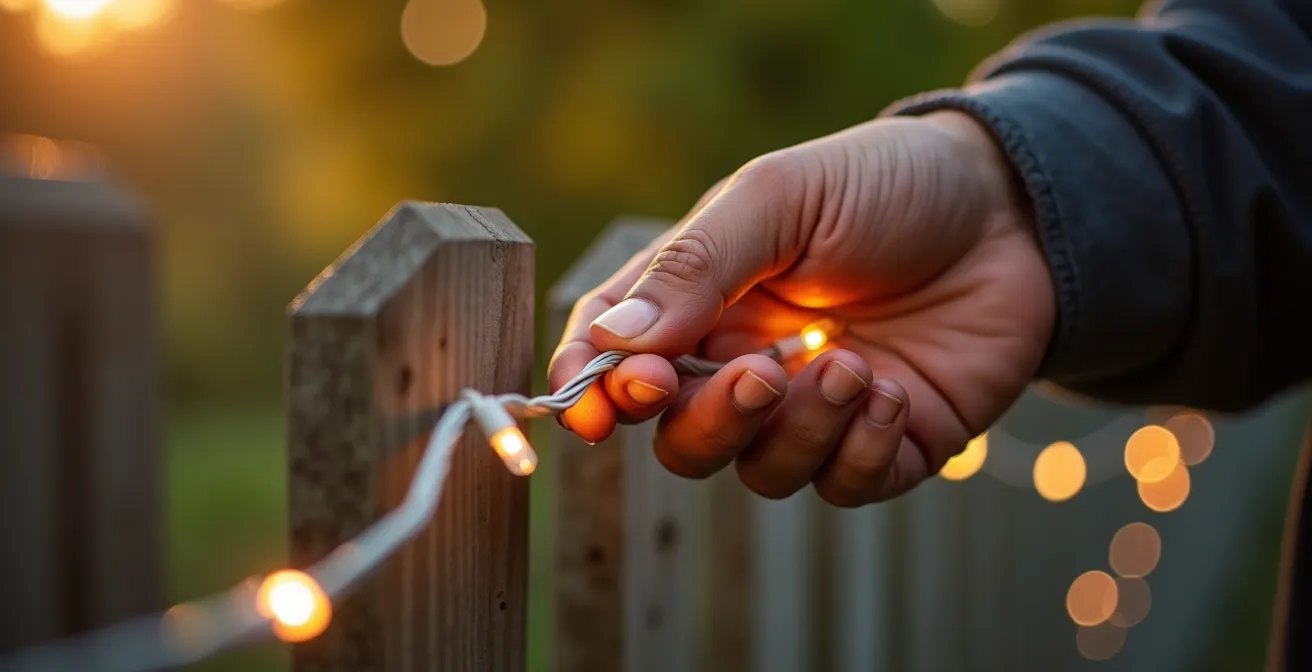
As seen here, having that extra slack makes a one-handed repair possible while the lights remain in place. Your choice of non-drilling hardware also plays a huge role in serviceability. Some methods are far more forgiving than others when it comes to removal and re-installation.
This table ranks common no-drill methods by how easy they are to service, a critical consideration for any temporary lighting system.
| Method | Removal Ease | Reusability | Best For |
|---|---|---|---|
| Gutter Hooks | Excellent – slide off | 100% reusable | Frequent repairs |
| Command Strips | Good – pull tab release | Not reusable | Seasonal installation |
| Siding Clips | Excellent – snap removal | 100% reusable | Year-round use |
| High-bond Adhesive | Poor – difficult removal | Not reusable | Permanent installation |
By thinking about future maintenance during the initial setup, you transform a fragile decoration into a robust and manageable lighting system.
Zig-Zag or Perimeter: Which String Light Pattern Covers More Area with Less Cable?
The pattern in which you hang your lights is more than just a decorative choice; it’s a strategic decision that affects coverage, ambiance, and the amount of cable you need. There are two primary approaches for no-drill installations: the Perimeter Pattern and the Zig-Zag (or Criss-Cross) Pattern. Each has distinct advantages and is suited for different spaces and effects.
A Perimeter Pattern involves running the lights along the edges of a space, like a deck railing, a fence line, or the eaves of a roof. This is often the most straightforward method, requiring fewer anchor points and generally less cable. It’s excellent for defining the boundaries of your event space and creating a clean, structured look. A Zig-Zag Pattern, on the other hand, creates a “ceiling” of light overhead. It provides more ambient illumination across a wider area but requires more anchor points on opposing sides of the space and significantly more cable to achieve.
When working with solar lights, pattern planning must also consider the solar panel’s placement. Even on gray days, a well-positioned panel can perform adequately; a study showed that solar panels in cloudy conditions typically achieve only 10-25% charging capacity, so maximizing sun exposure is critical. Your pattern should allow the panel’s cord to reach the sunniest spot, even if it’s not near the main lighting area. Sometimes, the best solution is a creative mix of patterns. For instance, VELCRO Brand’s 2025 outdoor project guide showcases a brilliant hybrid pattern installation. They used heavy-duty ONE-WRAP ties to create a secure perimeter pattern on deck railings (zero drilling) and then used lighter adhesive hooks on the house wall to create a secondary zig-zag pattern overhead. This dual-layer approach created a sense of depth and distributed the total weight across two independent, non-invasive support systems.
By choosing the right pattern—or even combining them—you can create a professional-looking design that maximizes both aesthetic coverage and the structural integrity of your no-drill setup.
Candles vs. Overhead: How to Light a Table so Guests Can See What They Eat?
The dining table is the heart of any dinner party, yet it’s often a lighting black hole. Overhead string lights create general ambiance, and candles provide a romantic flicker, but neither effectively illuminates the food on your guests’ plates without causing glare. The challenge is to get light directly over the table without a permanent fixture or drilling into the ceiling. This requires a bit of creative, non-destructive engineering.
The goal is to position lights 6-7 feet above the table surface—high enough to be out of sightlines but low enough to cast useful light. A brilliant no-drill solution is the cantilever system. This involves using a sturdy, temporary vertical element to extend a horizontal arm out over the table. You can achieve this by securing a heavy-duty clamp to a nearby deck railing or fence post and attaching a lightweight telescoping painter’s pole. Angle the pole out over the table, secure the string lights along its length with zip ties, and you have instant, targeted overhead lighting. A small counterweight at the base can be added for extra stability.
The quality of the light is just as important as its position. Direct, unshielded bulbs can be harsh and create unpleasant glare. As the Chronos Lights Design Team advises in their guide on damage-free hanging:
String lights with frosted bulbs positioned to bounce light off a nearby wall instead of pointing directly down create the perfect dining ambiance.
– Chronos Lights Design Team, How to Hang String Lights Without Damaging Walls Guide
This concept of indirect lighting is key. By using frosted bulbs or aiming the lights at a reflective surface like a light-colored wall, you create a soft, diffuse glow that illuminates the table beautifully without blinding your guests. It’s the difference between a functional space and an enchanting one.
By combining a clever cantilever hanging method with the principles of indirect, warm lighting, you can ensure your food looks as good as it tastes, all while keeping your structures completely intact.
LED Candles Only: The Fire Risk of Paper Luminaries Indoors
While much of our focus is outdoors, bringing the magic of string lights inside for a party presents its own set of safety challenges. The temptation to mix string lights with other decor like paper lanterns or luminaries is strong, but it carries a significant fire risk if not managed correctly. Real candles and hot incandescent bulbs are a dangerous combination with flammable materials. The rule for any temporary indoor installation should be simple and non-negotiable: use only LED light sources.
LED bulbs run significantly cooler than their incandescent counterparts, making them the only safe option to use near fabrics, paper, or other flammable decorations. This also extends to any candles used to supplement the ambiance; flameless LED candles provide the same warm flicker without any of the risk. Beyond the heat source, the integrity of your no-drill installation is a critical safety factor. An adhesive hook that fails could cause a live wire to fall into a drink or onto a flammable surface.
That’s why a meticulous pre-party safety audit is the most important final step for any party planner. Before guests arrive, you must physically check every component of your lighting system. Remember that the bond strength of many adhesives is temperature-dependent. For outdoor applications, for instance, most adhesive hooks should not be applied when the surface temperature is below 50°F (10°C), as the bond won’t cure properly. While less of a concern indoors, it highlights that environmental factors are critical.
Your Pre-Party Safety Audit Checklist
- Check all adhesive hooks by gently pulling—they should feel completely secure.
- Inspect the entire cord length for any cuts, fraying, or exposed wires.
- Verify no bulbs are touching or resting against siding, curtains, or any flammable surface.
- Test that all extension cords are secured with cord clips along baseboards to prevent tripping hazards.
- Confirm that Ground Fault Circuit Interrupter (GFCI) outlets are functioning by pressing their test/reset buttons.
By committing to an LED-only approach and conducting a thorough pre-event check, you ensure that your beautiful, damage-free lighting is also completely worry-free.
Key Takeaways
- Weatherproofing is a system: your lights’ IP rating, mounting hardware, and installation details (like drip loops) must all work together to survive the elements.
- Design for serviceability: building in slack loops and choosing removable hardware from the start transforms a potential crisis into a minor, 5-minute fix.
- Atmosphere is engineered: the “cozy” vibe depends on a warm color temperature (2700K) and indirect lighting that creates a soft, inviting glow.
Why Your Solar Pathway Lights Die in December (And How to Fix It)?
The sad, dim glow of a solar light in winter is a common sight. While we’ve established that modern solar lights are more than capable for a single event, their year-round performance, especially in winter, is a different challenge. The problem is twofold: shorter days mean less charging time, and colder temperatures can wreak havoc on certain no-drill mounting methods, particularly adhesives.
Adhesive hooks, which work wonderfully in the summer, often fail in the cold. The adhesive becomes brittle and loses its grip, especially during freeze-thaw cycles. DécoVinyl’s 2023 winter testing provided a clear verdict: mechanical grip solutions dramatically outperform adhesives in sub-freezing conditions. Their study showed that patented siding clips, which hook directly into the seams of vinyl siding without tools, maintained full holding power at -20°F, a temperature at which all tested adhesive hooks had failed. The key takeaway was that mechanical solutions, which don’t rely on a chemical bond, are the only truly reliable option for year-round, damage-free installations in colder climates.
This performance gap isn’t just a winter issue; different mounting methods have varying degrees of success throughout the year as temperature and humidity change.
As this seasonal performance data from a solar lighting guide shows, mechanical clips offer the most consistent reliability across all seasons.
| Season | Adhesive Hooks | Mechanical Clips | Tension Systems |
|---|---|---|---|
| Summer | Excellent (90% success) | Excellent (95% success) | Good (85% success) |
| Fall | Good (75% success) | Excellent (95% success) | Good (85% success) |
| Winter | Poor (30% success) | Excellent (90% success) | Fair (70% success) |
| Spring | Fair (60% success) | Excellent (95% success) | Good (80% success) |
To keep solar lights shining in winter, you must also clean the solar panels of any snow or debris and, if possible, angle them to catch the low winter sun. But the foundation of a successful four-season installation is choosing a mounting system built for the cold.
By switching from adhesive-based solutions to mechanical clips for winter, you can build a truly resilient, all-season lighting system that shines just as brightly in December as it does in July.